VIDEO - How easy is it to move a radiator?
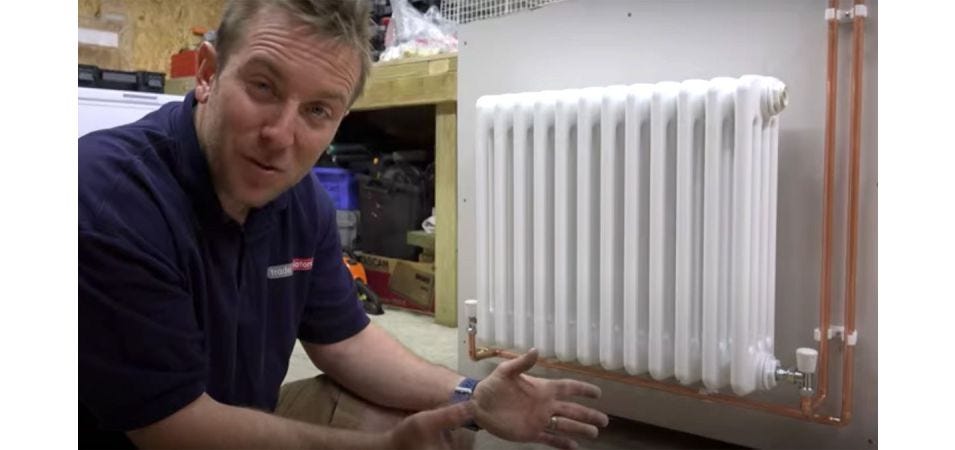
The radiator featured in this video is from our double panel convector radiator range.
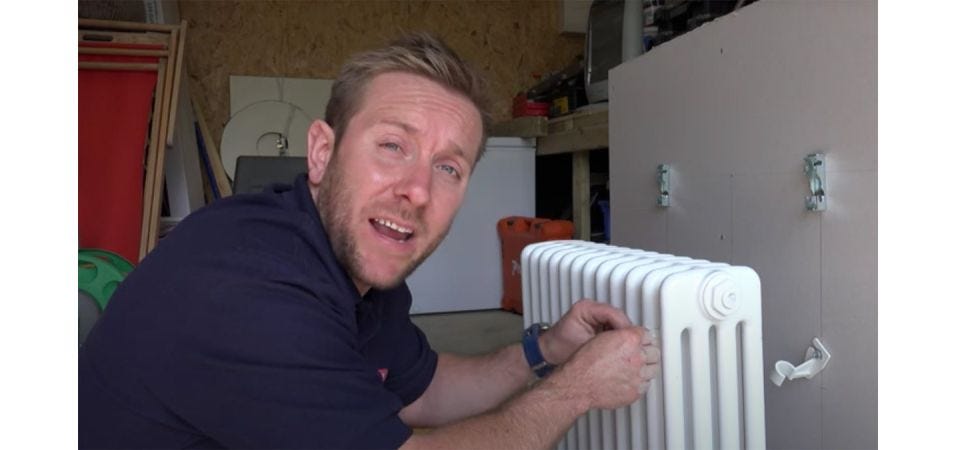
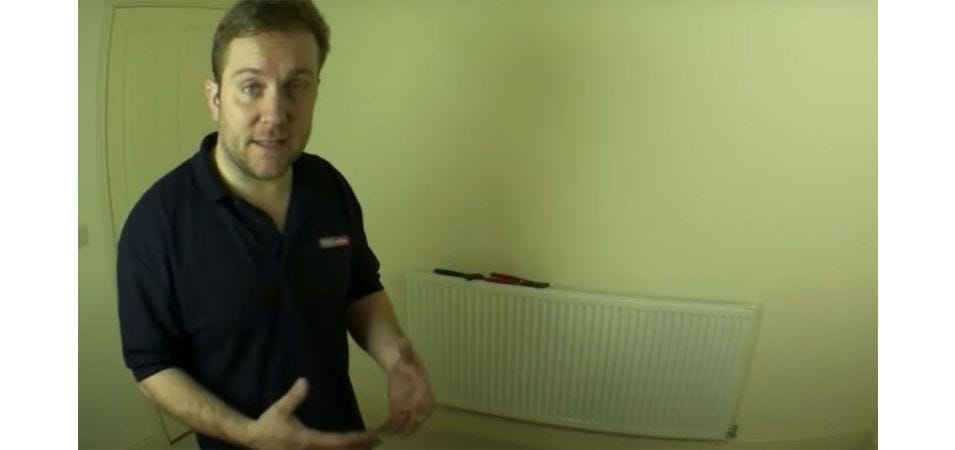
It can be quite a daunting task to work out how to move a radiator from one wall to another. In this video, James the plumber moves a white convector radiator from a rather awkward place to a more conventional position of centred under a window.
Moving a radiator can seem like a bit of a worry but with the right tools and preparation, it can be a relatively simple and straightforward process. Having your radiator in the optimal place in the room can help save you money on heating bills. Our resident radiator and heating supremo, Nicholas Auckland, recently featured in this money-saving article in The Sun and really highlighted the importace of correct radiator placement.
Whether you're looking to relocate a radiator to a different room or simply to a different wall, the steps involved are much the same. In this article, we'll walk you through the process of moving a radiator, including what you'll need, how to prepare, and how to complete the job with ease.
Get the right tools
Before you start, there are a few things you'll need to gather.
Firstly, you'll need a radiator key, which is a simple tool that's used to release the air from the system and allow you to safely remove the radiator. You'll also need an adjustable spanner, and a set of pliers. Finally, you'll need some PTFE tape, which is used to seal the connections on the radiator valves.
Once you have all the tools you need, it's time to prepare the area.
Start by turning off the heating and water supply to the radiator. You should also turn off the power to the boiler, and if possible, drain the system to ensure that there's no water left in the pipes.
Remove the radiator valves
Next, remove the radiator valves using the wrench or adjustable spanner. Take care when removing the valves, as they can be quite delicate, and if damaged, will need to be replaced. If the valves are still connected to the pipes, wrap the connections with PTFE tape to prevent any leaks.
With the valves removed, you can now safely remove the radiator from the wall. Start by releasing the air from the system using the radiator key. Then, gently lift the radiator from its brackets, taking care not to damage the wall or the radiator.
Moving the radiator
Once the radiator is free, you can now prepare to move it to its new location. If you're moving the radiator to a different room, it's a good idea to lay down a blanket or similar material to protect the flooring. Then, carry the radiator to its new location, taking care not to bump it or damage any walls along the way.
When you reach the new location, you can now begin to reattach the radiator valves. Start by wrapping the threads of the valve with PTFE tape, and then screw the valve back into place, being careful not to overtighten it. Repeat this process for both valves, ensuring that they are securely attached.
Next, position the radiator on its new brackets, ensuring that it is level and secure. Then, tighten the brackets, taking care not to over-tighten them, as this can cause damage to the radiator.
If you've thought you'd like to try a different style of radiator valve while moving the radiator, consider browsing through our range to see alternative styles and types of valves available.
Turn on the heating
With the radiator securely in place, it's now time to refill the system and turn the heating and water supply back on. If you've drained the system, you'll need to prime the radiator and refill it with water, and then turn the heating and water supply back on. If you haven't drained the system, simply turn the heating and water supply back on.
Finally, test the radiator to ensure that it is heating up properly and that there are no leaks. If everything is working as it should, you can now enjoy your newly relocated radiator.
In conclusion, moving a radiator may seem like a complex and challenging task, but with the right tools and preparation, it can be a relatively simple and straightforward process. Whether you're relocating a radiator to a different room or simply to a different wall, by following these steps, you can be sure of a successful outcome.


