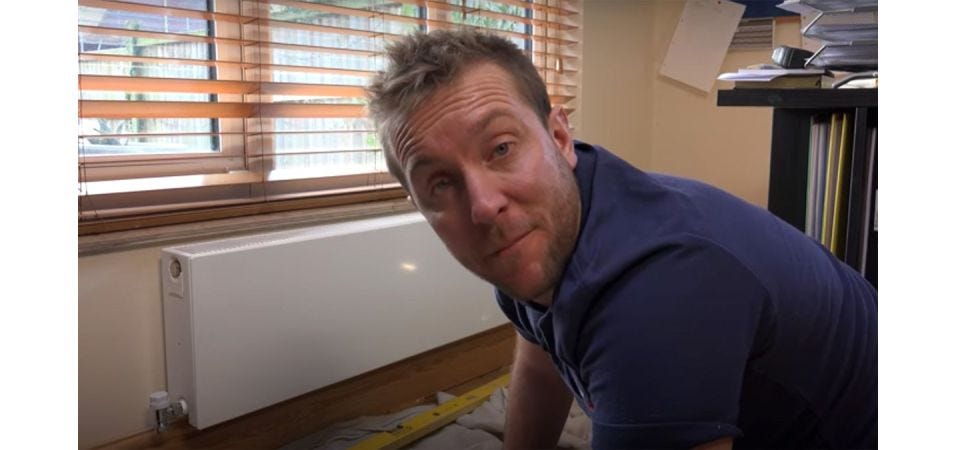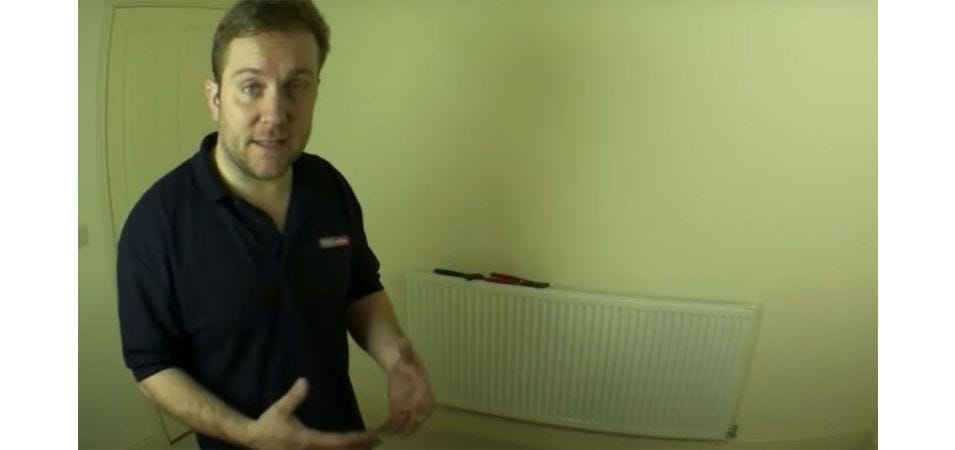
VIDEO - How to hang a radiator in a pub
In this video, we take a look over James the plumber's shoulder as he installs two radiators in a pub toilets - one in the gents and one in the ladies in the adjacent wall.
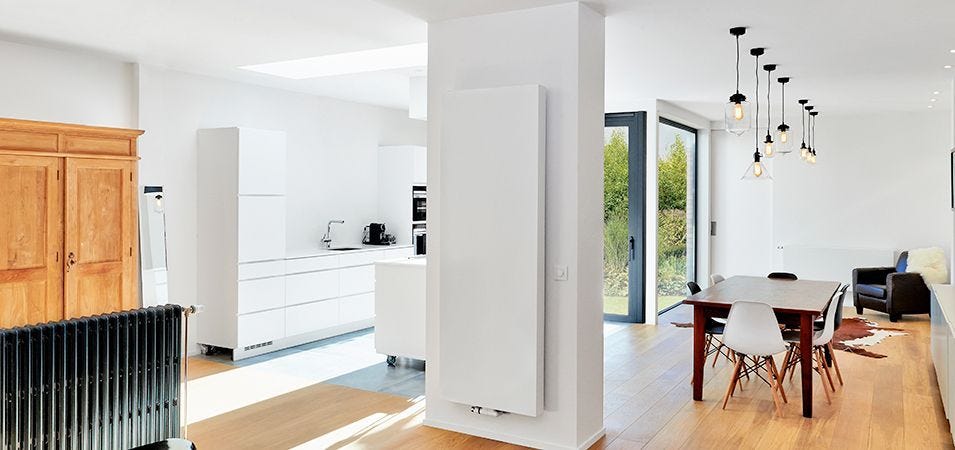
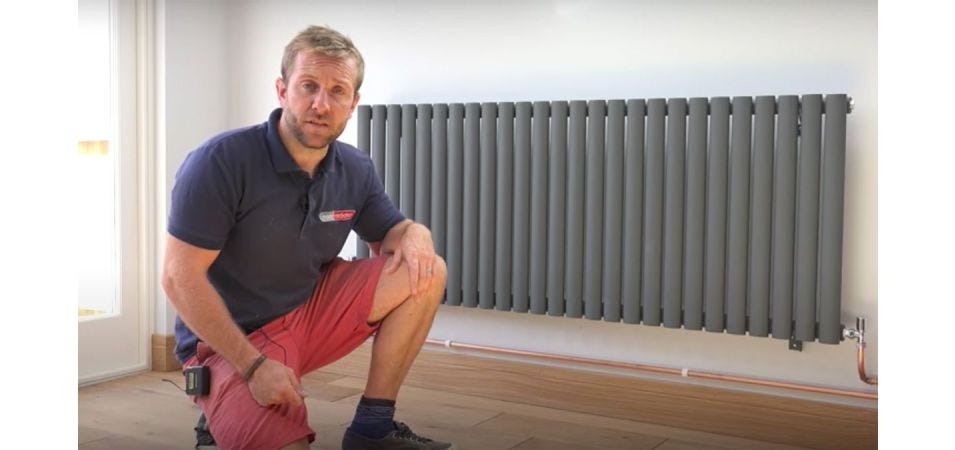
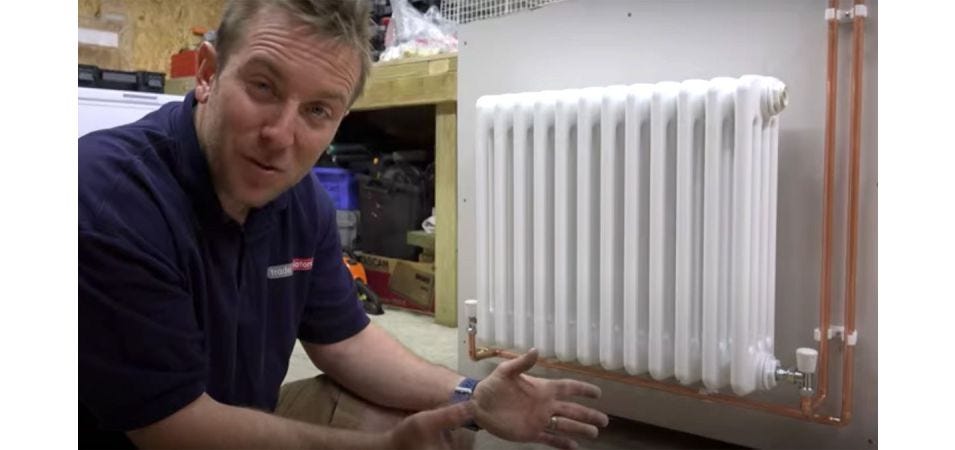
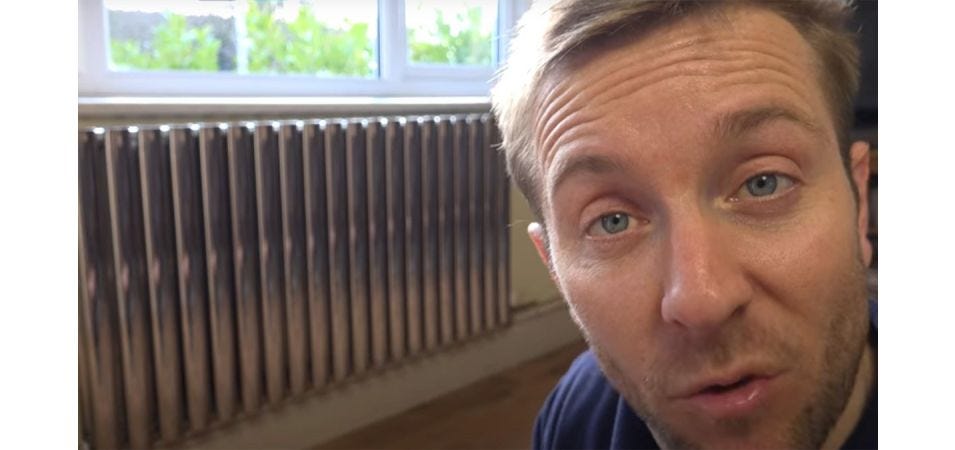
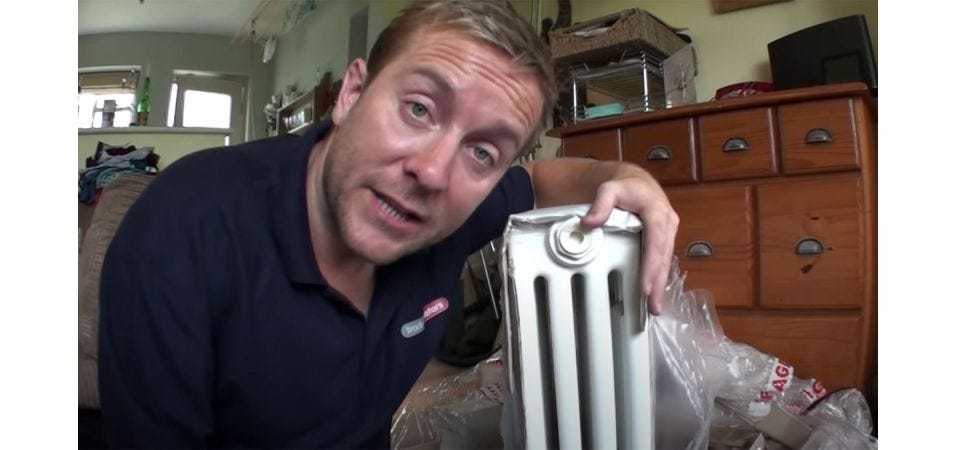
The radiators featured in this video are from our white Classic Column Radiator range.
The first priority for this task is to get the centre of the wall we’ll be placing the radiator on. This is easily done by dividing the wall in two. There is a very simple method to measuring up and installing any radiator.
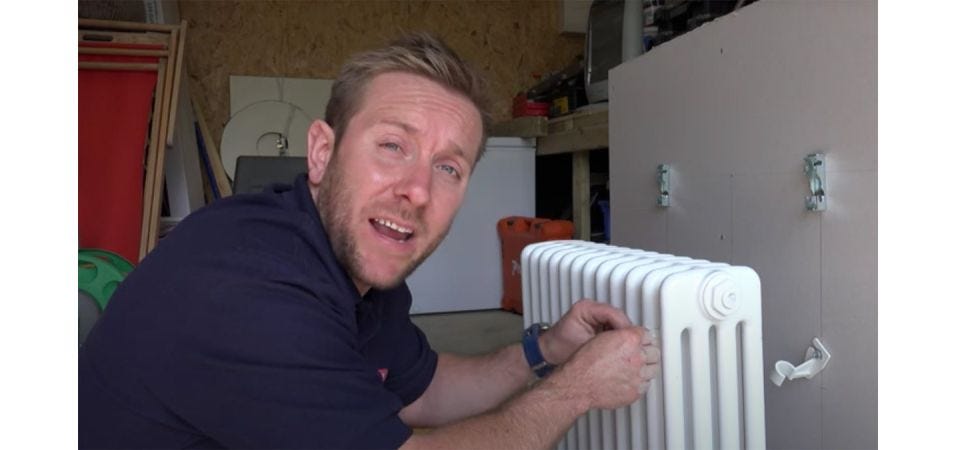
First we want to look at the brackets for the radiators which will sit nicely under the top. It’s good to know the distance up and down of where the brackets will go by measuring the centre of the radiator against the holes on the side and then marking it down on a bit of paper you have.
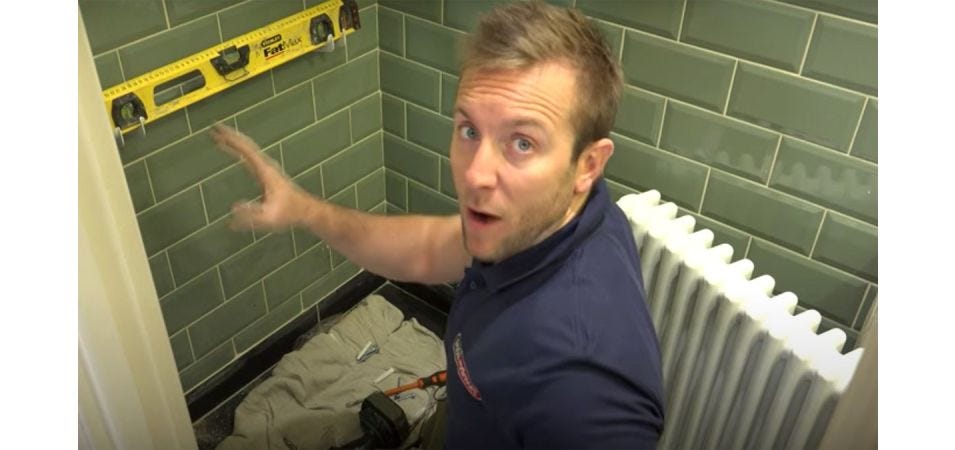
By measuring the distance from the bottom we’ll need to place a bracket, we can then measure up the wall and know where the radiator will sit. Double measuring where our holes should go before any work is actually carried out, we need to get a spirit level and ensure everything will sit perfectly.
You can see how to correctly calculate your distances for measuring out where brackets will go and know confidently that you’re hanging the radiator on a level line . A very handy tip to know; when you’re doing your second measurement of the distances and lengths for the radiator and brackets, check the lengths against the radiator itself just to make sure you’ve got it exact. The holes are drilled for the sliding scale of the bracket first in each corner.
This is done to make sure each hole is in the right place and we can secure them in place fully with a second hole and screw put in place later to affix the bracket in properly. The screws sent with the brackets of this radiator are high quality (or “an absolute beast” as James says) When you put your brackets on, get your spirit level and have a quick check it is perfectly balanced.
Because we’ve put the bracket on the sliding scale, a few gentle taps will help get in it perfect. Using a universal radiator valve, James sets the radiator up for piping and places the bungs on the top of the radiator. You can leave the thermostatic valve in the box it comes in as this will be the last part of the installation and isn’t needed until then (you don’t want to damage the piece before this).
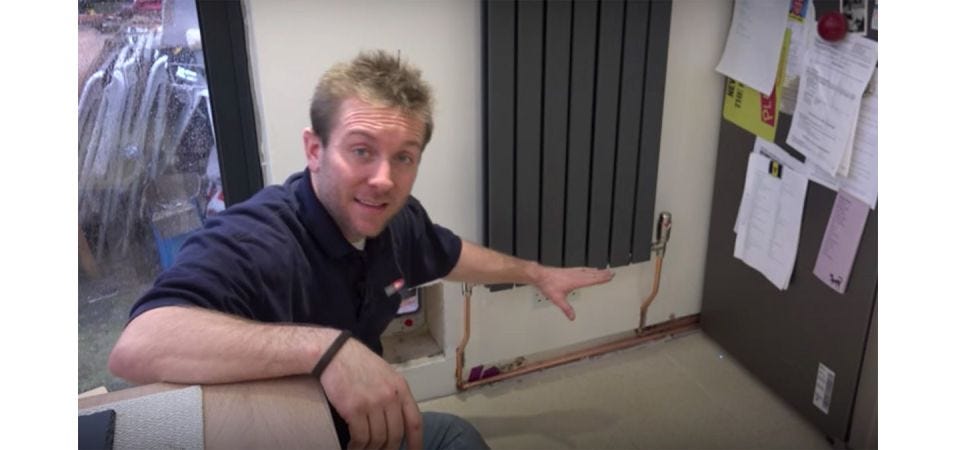
Now that the radiator is hanging, James guides us through the process of where the pipes are and how we’re going to get this radiator (and the adjacent radiator in the ladies) piped up. It’s a little bit of a complicated job as it involves running pipes from the toilet, under the sink and through the wall to the other side.
With some soldering action on the joints, the radiator is fully fitted, piped up and looking good. James applies some Brasso to give the pipes a great finish.